Note: For Chapter Download Files Click Here
Overview
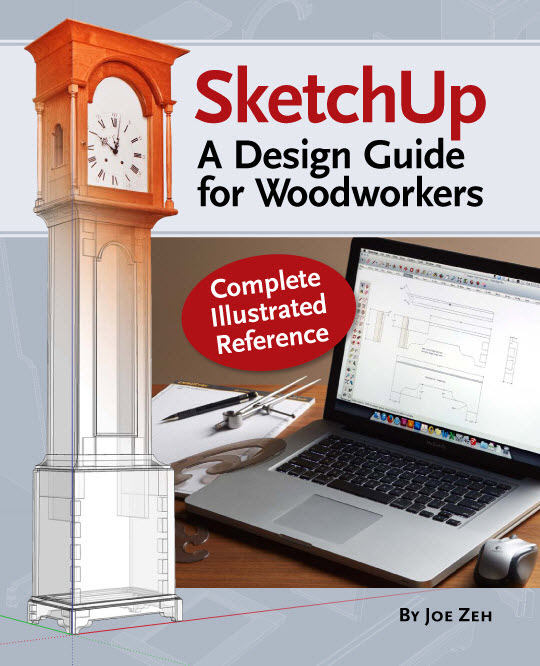
A SketchUp guide created specifically for woodworkers!
SketchUp is a fantastic design tool for woodworkers. It can save you time, materials and money by letting you test your designs before you even make your first cut. But, as with any computer software, there is a learning curve.
This comprehensive guide provides you with the specific advice that you need in order to use the program effectively. Created from a woodworkers perspective, SketchUp: A Design Guide for Woodworkers helps you create beautiful furniture designs and reduces chances of costly construction errors.
Inside you'll find:
- Step-by-step instructions for installing and configuring the program to get the most functionality for your woodworking designs
- Explicit guidance to help you fully understand and use SketchUp's wide array of tools
- Helpful directions for employing Ruby scripts that extend SketchUp's usefulness for designing furniture
- Specialized instruction for modelling the complex shapes necessary for furniture design
- In-depth examples and exercises
- More than 600 detailed illustrations and screen captures
There are plenty of SketchUp guides out there, but this one concentrates specifically on what you, as a woodworker, need to know. Let this guide help you learn how to get the most out of this versatile tool.
To give you an idea of its coverage here is the the table of contents.
ABOUT SKETCHUP: A DESIGN GUIDE FOR WOODWORKERS
Dedication
About the Author
Preface
Introduction
Overview of SketchUp
How to Use this Book
Getting Help for SketchUp: A Design Guide for Woodworkers
Other Helpful Sources
Microsoft Windows & Mac OS X
PART ONE: SKETCHUP’S WORKBENCH AND ITS TOOLS
Chapter 1 - The SketchUp Workspace
Installing SketchUp Make
Setting Up the Toolbars
Configuring the Workspace
A Tour of the Workspace
Chapter 2 - The SketchUp Toolbox
VCB – The Value Control Box
Inference Engine
Context Menu
Selecting & Using Tools
PART TWO: THE APPRENTICE & THE BEDSIDE TABLE
Chapter 3 - Drawing Tapered Legs
Six Rules for 3D Modeling in SketchUp
Preparing to Draw
Creating a 3D Component
Editing a 3D Component
Checking a 3D Component for Proper Construction
Adding Similar Components to the Model
Mirror Imaging a Component
The Outliner Tool
Chapter Review
Exercises for the Student
Chapter 4 - Adding Joinery
Drawing the Aprons
Drawing the Tenons
Using Tenons to Add Mortises
Drawing Dovetail Sockets
Chapter Review
Exercises for the Studen
Chapter 5 - Using Joinery to Define Parts
Drawing a Rail with a Tail
Drawing a Rail with a Curve
Using the Legs to Model the Top
Chapter Review
Exercises for the Student
Chapter 6 - Modeling a Traditional Drawer
Design Elements of a Traditional Drawer
The Role of Drawer Sliders
Drawing the Traditional Drawer
Chapter Review
Exercises for the Student
Chapter 7 - Adding Cock Bead & Pull
Adding Cock Beading Trim
Adding a Drawer Pull
Chapter Review
Exercises for the Student
Chapter 8 - Ruby Script Extensions
Ruby Scripts
Plugins versus Extensions
Ruby Script Extension Installation Procedure
The Layers Management Tool
Locating Your Plugins Folder
The Extension Warehouse
SketchUcation Plugin Store
Extensions You Will Need or Want Going Forward
Other Sources of SketchUp Ruby Script Extensions
Chapter 9 - Creating Shop Drawings
What Are Scenes?
Creating a Scene
Dimensioning the Model
Moving Dimensions to the Appropriate Layer
Adding More Scenes
Adding Leader Text and Notes
Creating an Exploded View
Creating Section Views
Chapter Review
Exercises for the Student
Chapter 10 - Texturing the Bedside Table
What Level of Photorealism Can One Achieve?
Using jpeg Images as Textures
Applying a Texture
Chapter Review
Exercises for the Student
PART THREE: THE JOURNEYMAN & NON-RECTILINEAR PIECES AND COMPLEX CURVES
Chapter 11 - Splayed Pieces: The Dough Box
Modeling the Tapered & Splayed Legs
Drawing the Long Sides
Creating the Dovetail Tails
Exercises for the Student
Chapter 12 - Splayed Pieces: The Shaker Shop Stool
The Bezier Curve Tool
The Complexities of Splayed & Turned Designs
Establishing a Splayed Surface to Draw On
Turning a Splayed Leg
Determining the Rung Length
Creating the Rung Mortises
Exercises for the Student
Chapter 13 - Modeling a Clock Hood with Two Dimensional Circular Curves
The Arched Door Rail
The Arched Cove Trim
Exercises for the Student
Chapter 14 - Table Top Edges with Non-Circular Curves
The Office Table Top Edge-less Profile
Modeling the Office Table Top
Who Needs a Bezier Curve Anyway?
Exercises for the Student
Chapter 15 - Bracket Feet with Bezier Curves
The Two Shapes of a Bracket Foot
Modeling and Extruding the Feet End View
Modeling and Extruding the Feet Front View
Obtaining the Intersection of End and Front Extrusions
Mitering a Foot
Assembling the Feet
Exercises for the Student
Chapter 16 - Cabriole Legs with Bezier Curves
The Slipper Foot Cabriole Leg and Its Parts
Modeling the Upper Leg
Modeling the Slipper Foot Pad
Registering the Upper Leg and the Foot
Creating a Mask to Shape the Upper Leg
Stitching the Upper Leg to the Foot
Smoothing the Leg
Exercises for the Student
APPENDIX
Appendix A - Mac OS X User Help
Major Keyboard Differences
Where is Preferences on the Mac?
How to Customize a Mac SketchUp Toolbar
Installing Ruby Script Plugins on Mac OS X
Can’t See the Entire Entity Info Dialog Box
Layers Dropdown Box Changes Active Layer
Appendix B – Preferences
Applications
Compatibility
Drawing
Extensions
Files
General
OpenGL
Shortcuts
Template
Workspace
Appendix C - Model Info
Animation
Classifications
Components
Credits
Dimensions
File
Geo-location
Rendering
Statistics
Text
Units
Appendix D – Component Related Dialog Boxes
Components
Create Component
Entity Info
Appendix E - SketchUp Viewers
SketchUp Viewer
SketchUp Mobile Viewer
Appendix F – The Warehouse
|


