|
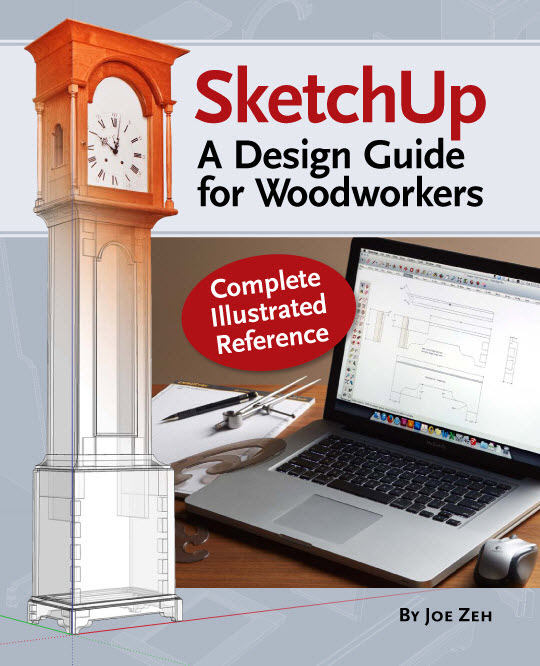
If you have not purchased my book and wish to do so simply click on the cover image in the right column. Or see my Overview Page for a description and table of contents.
This page is an on-line resource page for owners of my book SketchUp: A Design Guide for Woodworkers. On this page you will find errata, sample SketchUp models, chapter by chapter support files and much more. Follow the links below to access the information you are seeking.
Thank you for your patronage and I sincerely hope you find SketchUp: A Design Guide for Woodworkers the resource you were looking for to learn how to use SketchUp in your woodworking.
Please Report Errors or Leave Feedback
You can report any errors or leave feedback on my SketchUp: A Design Guide for Woodworkers Feedback page.
Downloads
Here you will find all the downloads needed or referred to in the book.
Support Files by Chapter
 Introduction Introduction
Part One
 Chapter 1 Chapter 1
 Chapter 2 Chapter 2
Part Two
 Chapter 3 Chapter 3
 Chapter 4 Chapter 4
 Chapter 5 Chapter 5
 Chapter 6 Chapter 6
 Chapter 7 Chapter 7
 Chapter 8 Chapter 8
 Chapter 9 Chapter 9
 Chapter 10 Chapter 10
Part Three
 Chapter 11 Chapter 11
 Chapter 12 Chapter 12
 Chapter 13 Chapter 13
 Chapter 14 Chapter 14
 Chapter 15 Chapter 15
 Chapter 16 Chapter 16
Check out my Popular Woodworking blog titled SketchUp with Joe Zeh for more modeling videos. For support on Chapter 11 The Dough Box is a four part video series that begins on page 6. For support on Chapter 12 A Shaker Stool For The Workshop is a five part video series that begins on page 2.
Sample SketchUp Models
I have included a number of example SketchUp model files that you may find useful as you learn SketchUp. Each one has been selected because it demonstates somwhat different modeling practices or highlights a specific technique such as dimensioning, exploded views, texturing etc. You will find them in a zipped folder which you can download by clicking on this link.
Errata
- Page 16, second to last paragraph in right column; hyperlink is incorrect.
Reads: srww.com/sketchup_a_guide_for_woodworkers.html
Should Read:
srww.com/sketchup_a_design_guide_for_woodworkers.html
- Page 16, second column, third full paragraph beginning with "Throughout this book I will"; the last two words in that paragraph read 'With Model" but should read 'With Selection'.
- Page 17, last paragraph in leftt column; hyperlink is incorrect.
Reads: http://www.srww.com/google-sketchup.htm
Should Read:
http://www.srww.com/sketchup.htm
- Page 40 refers to "the fifth drawing in Figure 1.". There are only four drawings in Figure 1, and none of them show what is described in that second sentence on page 40. The problem is the image in Figure 1 has been cut off in the book. Click here for the correct image.
- Page 71, left column, second to last paragraph, first sentence should read "Again using the Move/Copy tool we copied and mirrored the left front leg to the right front leg position.".
- Page 105, Figure 11 should be reversed in the horizontal direction to be consistent with Figures 10 and 12 through 19. This would put the front dovetails on the left in all figures.
- Page 128 paragraphs one and two need correction and clarification. In the first paragraph "sides and the top of the original trim" should read "sides and the top of the second trim".
In the second paragraph "right vertical side, top and bottom of the original trim" should read "right vertical side, top and bottom of the third trim".
In Figure 14, there is a minor typo: “primitives of the third rim” should read “primitives of the third trim”.
- Page 131, the Top Cock Bead is exploded and the rectangular cube attached. The lines between them are deleted, forming a single primitive. I failed to instruct the reader to create a new component and place it on the proper layer.
- Page 134, Figure 25 there are two points labeled “F” and point "G" is omitted. The point opposite the one labeled "I" should read "G".
- Page 138, last paragraph in left coloumn:
Select "Save as new style" and "Update".
Should read:
Since you just changed the current style by changing from Camera/Parallel Projection to Camera/Perspective, you should rename the style to something like Perspective in the Styles dialog box. Then click the "Update Style with changes" icon (two semi-circle arrows on the right).
- Page 146, left column, middle paragraph:
SketchUp.find_support_file('Plugins/')
should read:
Sketchup.find_support_file('Plugins/') with the u in Sketchup lower case.
DO NOT copy and paste the above line into the Ruby Console. Type it exactly as it appears. Here is the different results between the correct and incorrect lines:

- Page 156, Figure 7 could be improved. There are two 10 1/4" dimensions; only one is needed. The length (12 1/4") and the width (8 1/4") dimensions should have been included.
- Page 157, the text says: “Use the completed Bedside Table reference model to check your progress and correctness.” In the drawing referred to the back is: on Layer: Back, Name: Back, and Definition: Back. The sides are: on Layer: Sides, Name: Left (or Right) and Definition: Sides. However, in the text, on page 74, I used: Layer: Aprons, Name: Back Apron, and Definition: Back Apron and Layer: Aprons, Name: Left (and Right) Apron, and Definition: Side Apron. I should have used either apron or back and side terminology in both.
- Pages 200 and 201, Figures 11 and 12 may be confusing. Hopefully this will make things more clear. Construction line AB in Figure 11 is the same as construction line AC in Figure 12; both are the axis of the leg. The two construction lines parallel to, and to the right of, construction line AC in Figure 12 denotes the radii of the bottom section of the leg. You can see this more clearly in Figures 13 through 17.
- Page 237, Figure 2,
the flat dimension shown is 1/8". It should be 1/4". However, if you download the .skp file provided for Chapter 14 you will see that the flat is 1/8". The difference is where I started the Bezier curve. In the book it was at the mid-point of the top's edge which is 1/2" up from the bottom.. In the .skp file I started 3/8" up from the bottom of the edge. My bad for not being consistent.
|


